Join 620+ families in the Chagim Club
Holiday guides, straight to your inbox.
Thanks — check your inbox to confirm.
That did not go through. Please try again in a moment.
Oh, menorah, menorah, menorah, I made you out of clay!
.png)
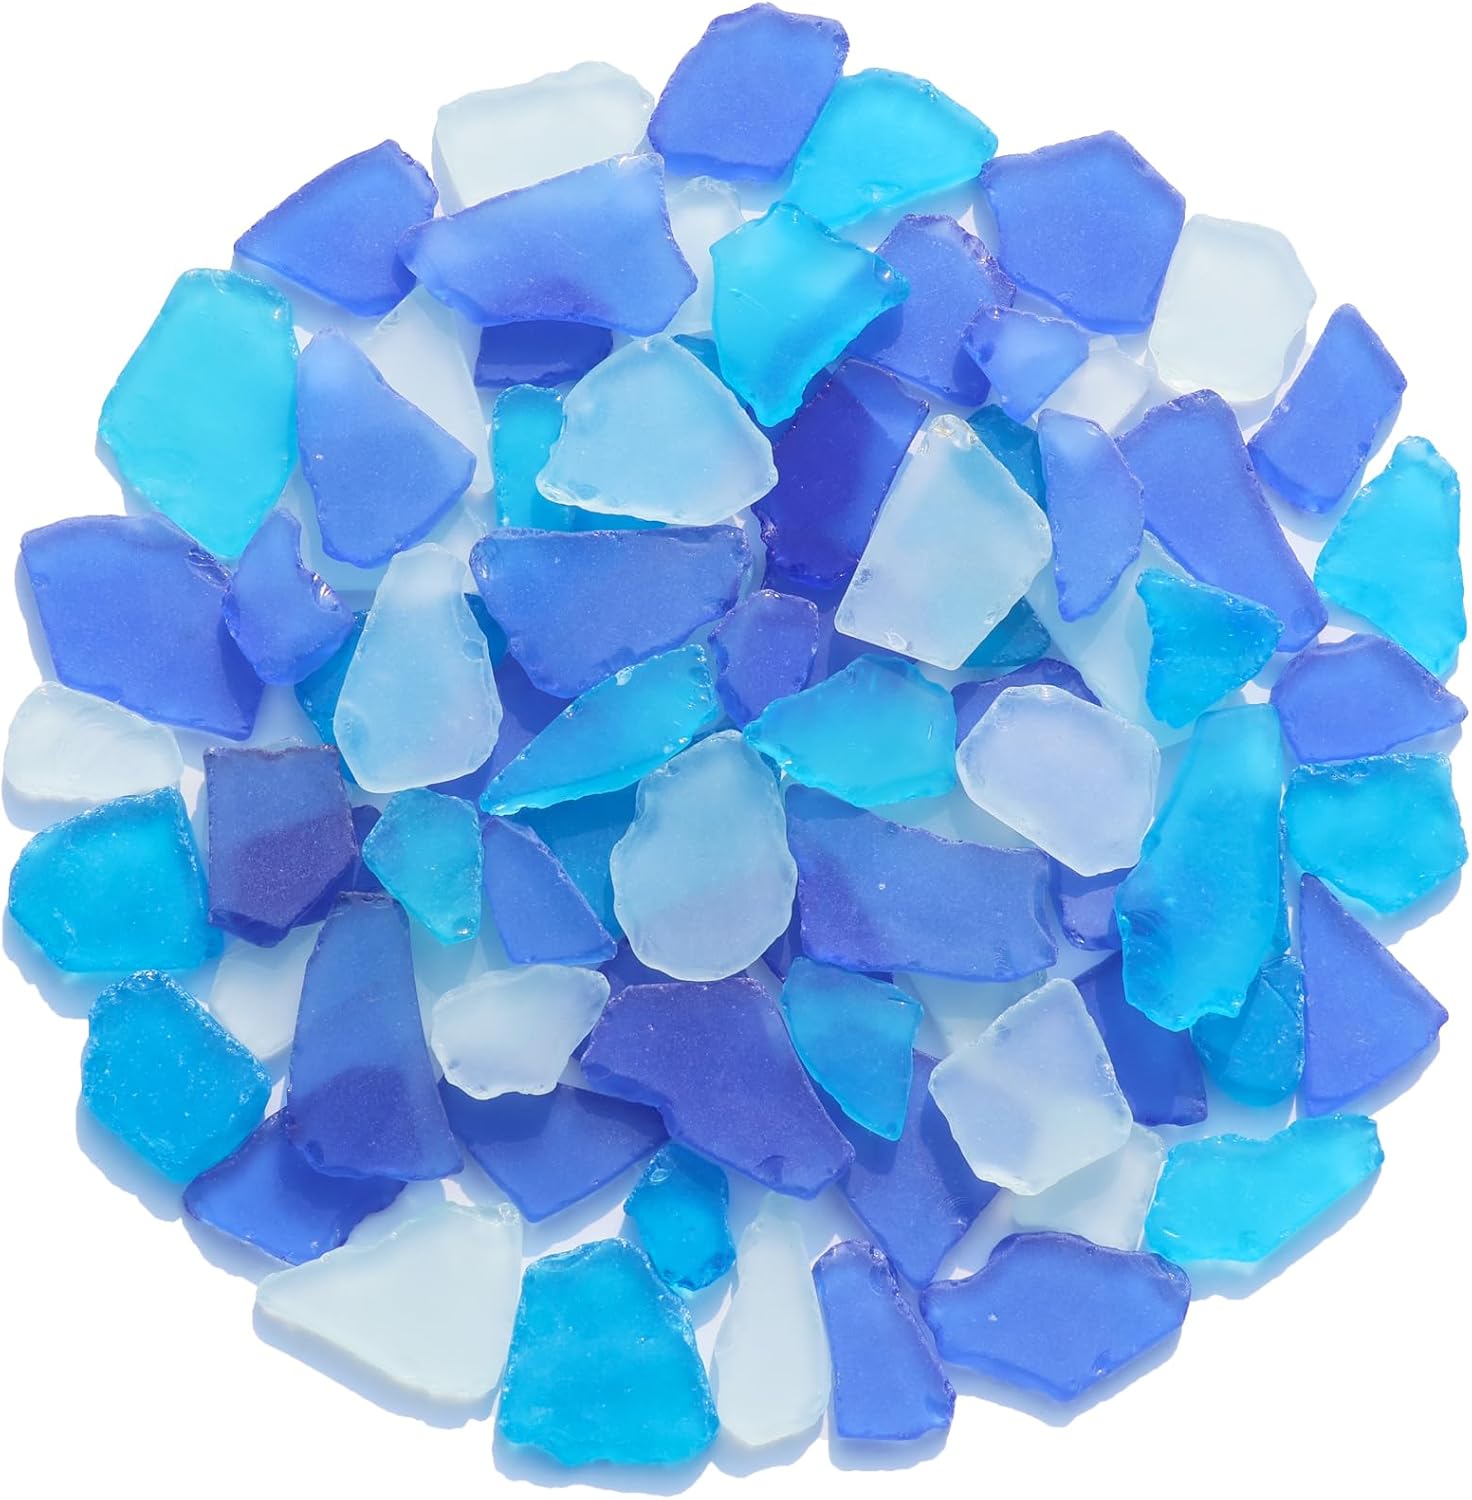
What you need:


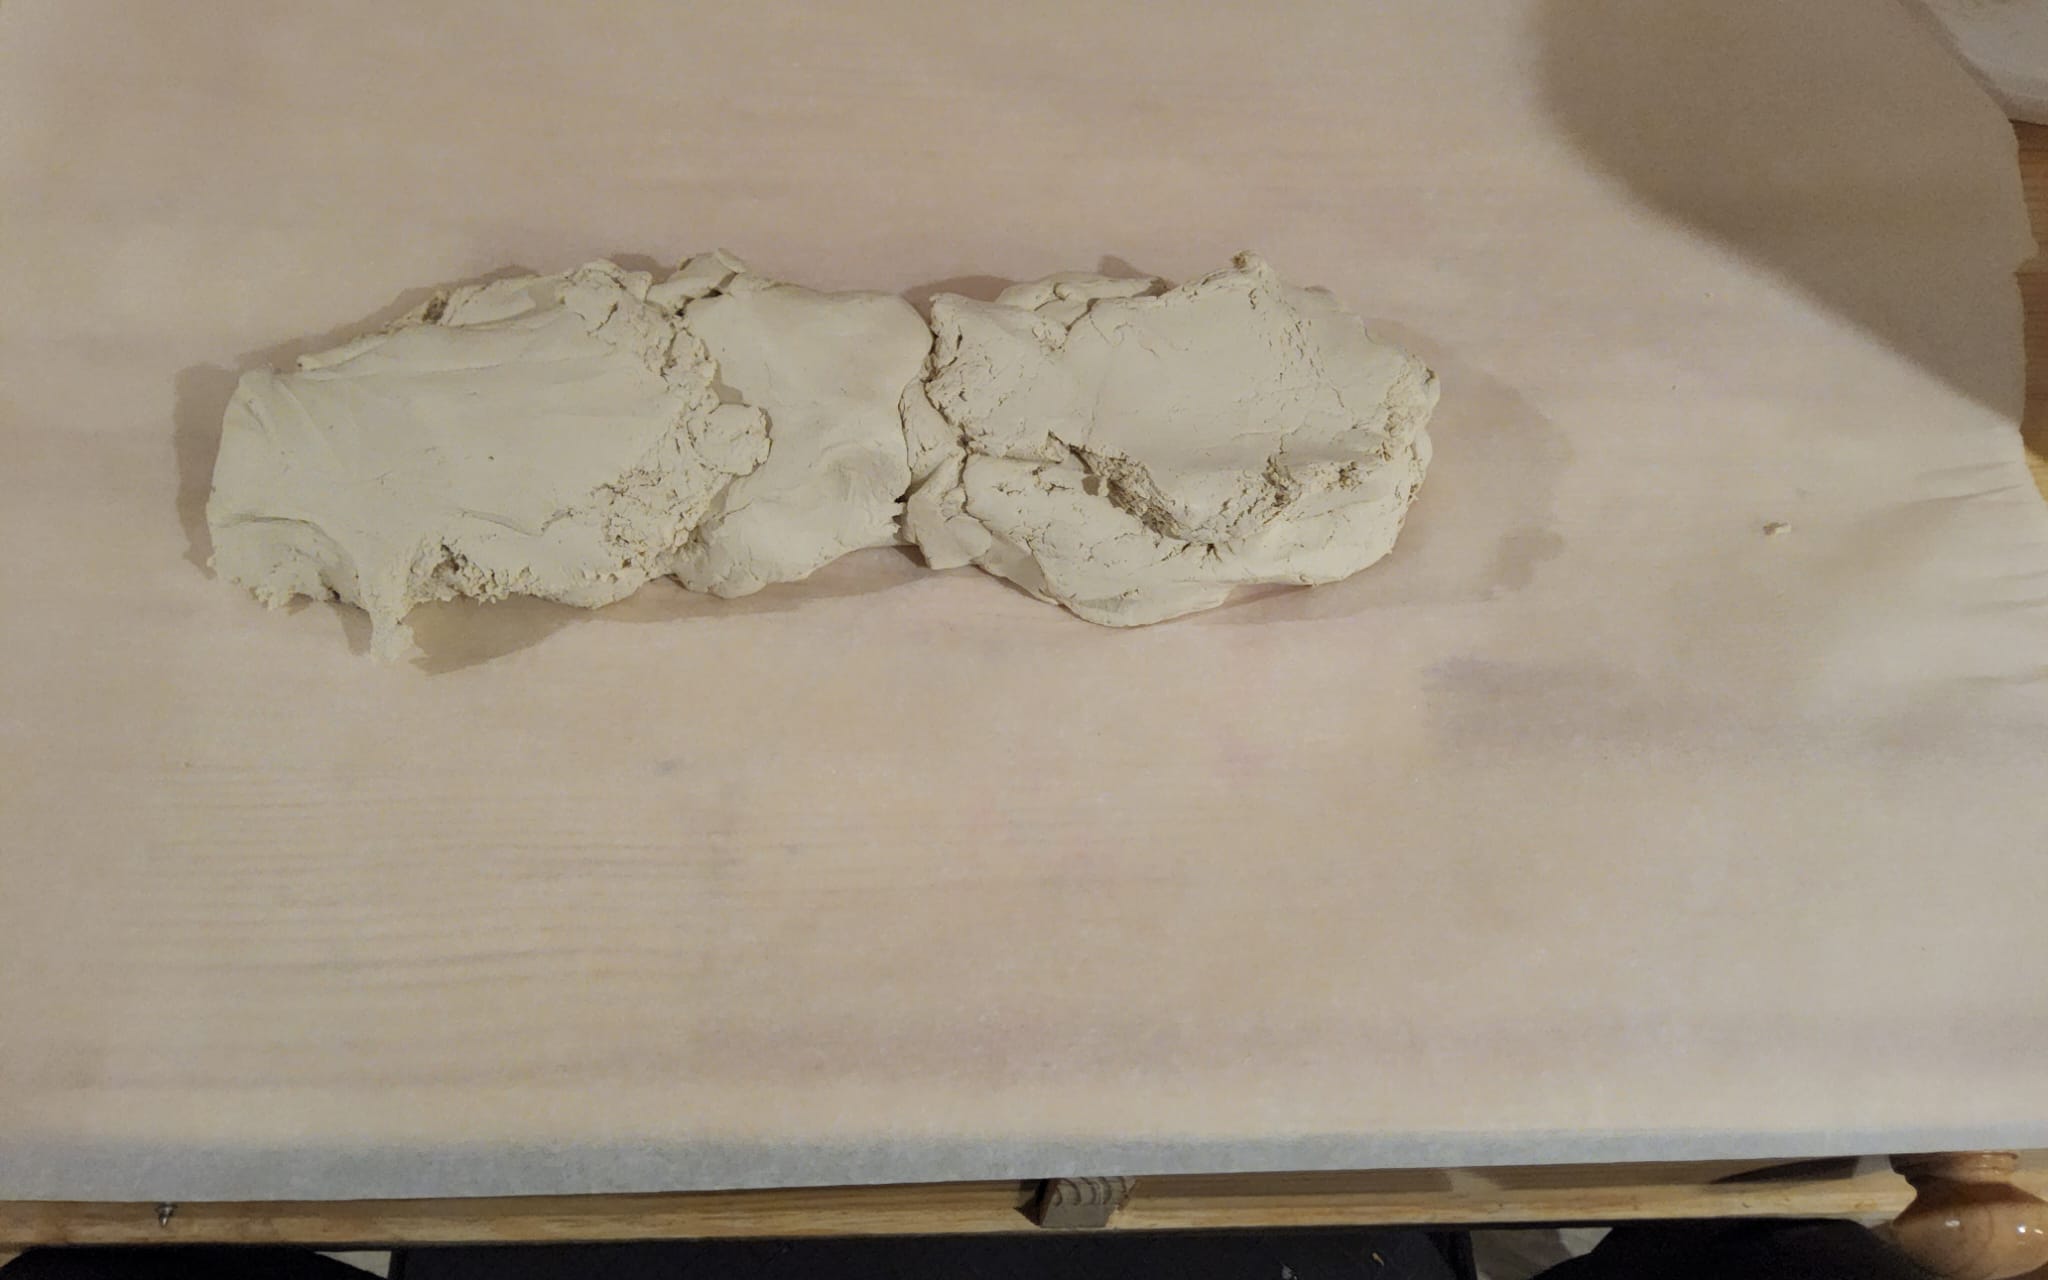
1. Roll out a piece of air dry clay into a thick cylander
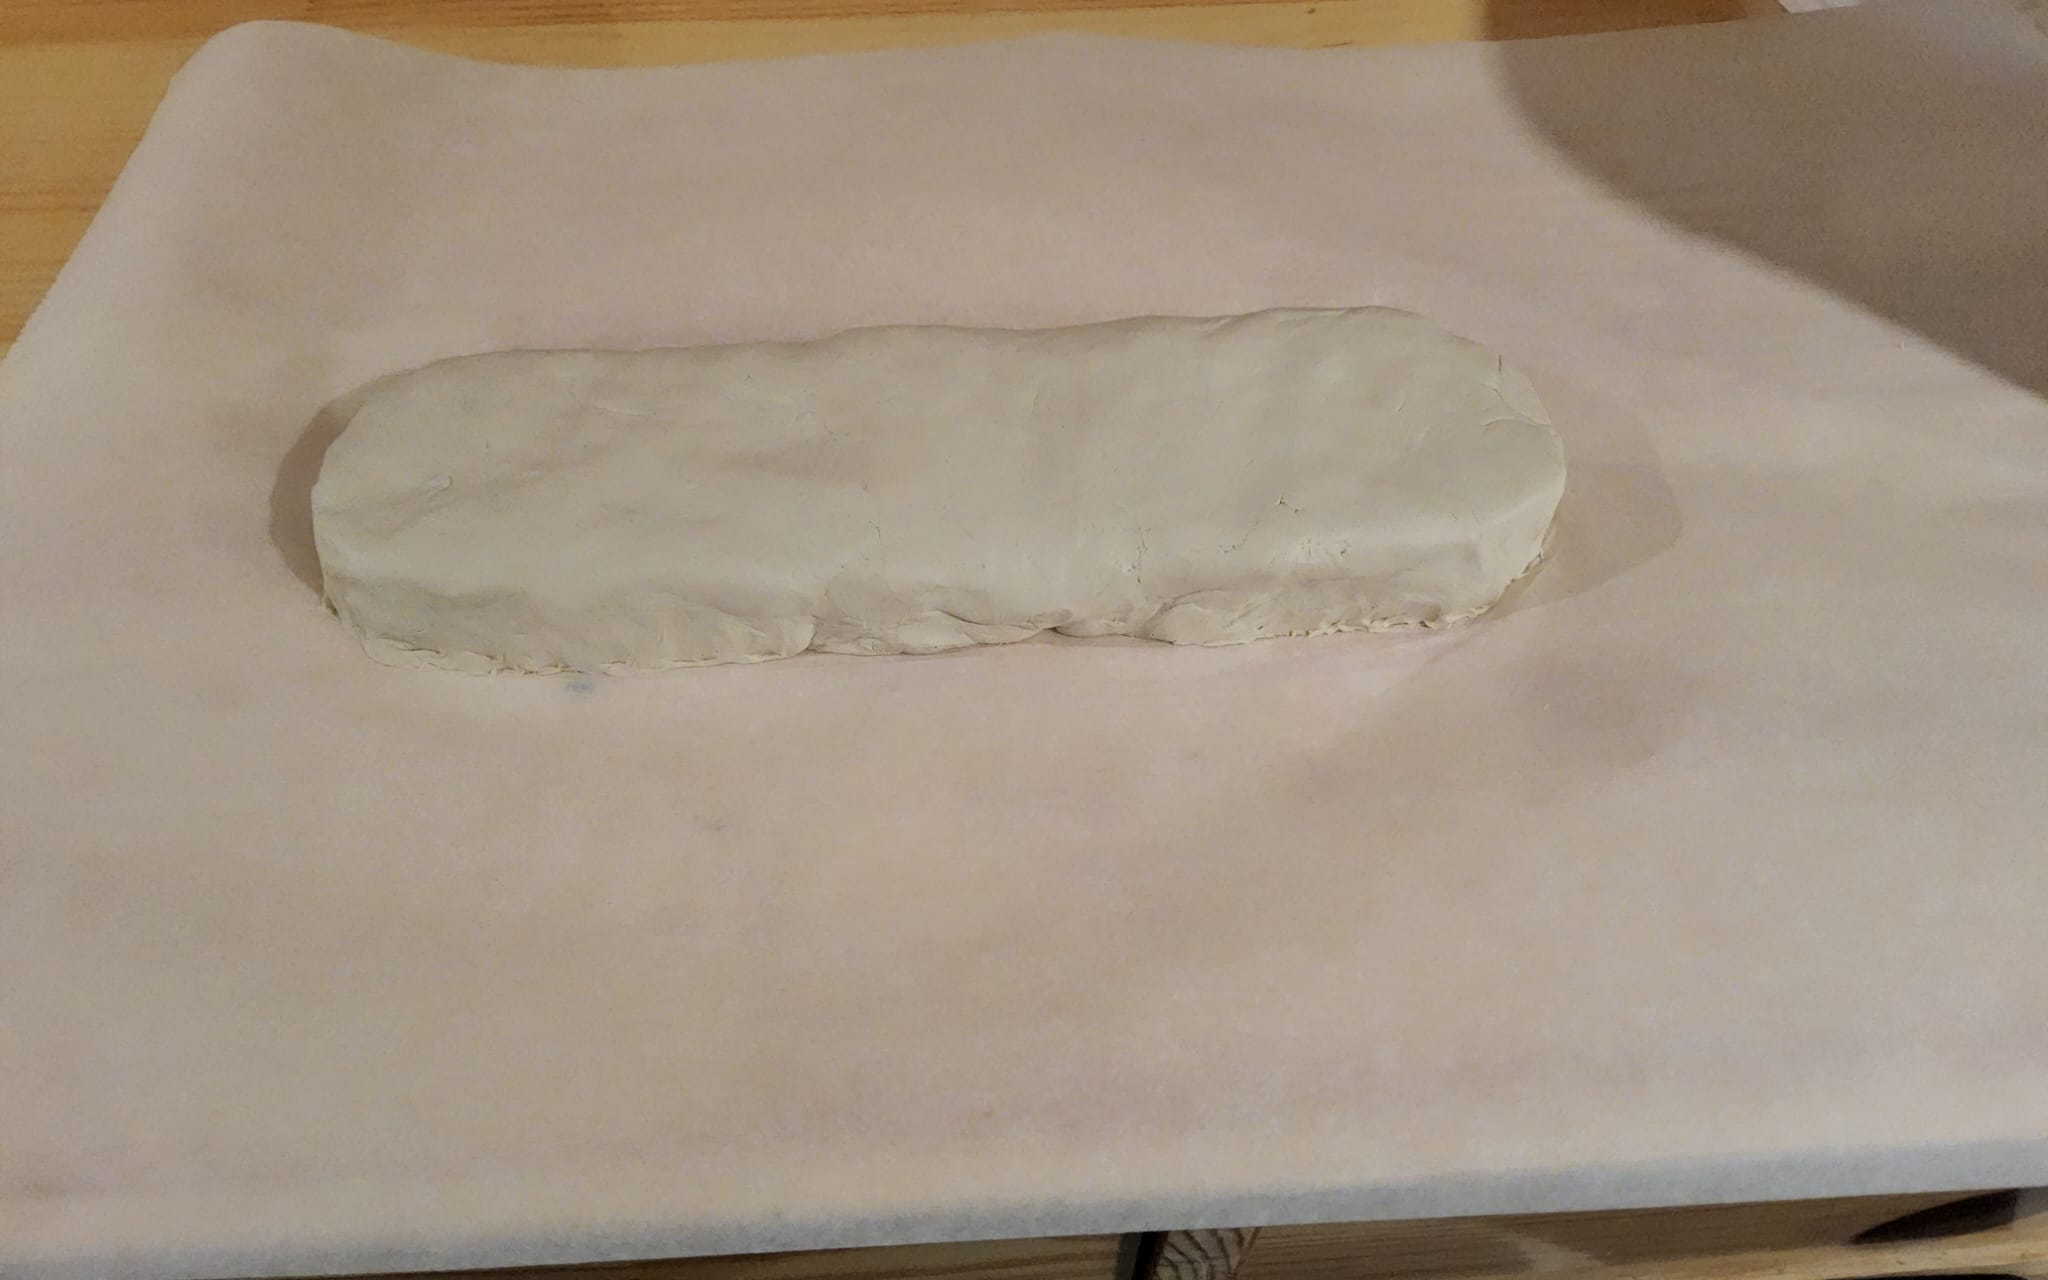
2. Flatten and shape it into the desired menorah shape
3. Take another small piece of clay and roll it into a ball
4. Flatten it until you have a small circle.
5. Glue this circle onto the center of the larger piece of clay. This will be the shamash.
.jpeg)
6. Use the back of a pencil to press 8 holes into the big piece of clay, and one hole into the small piece.
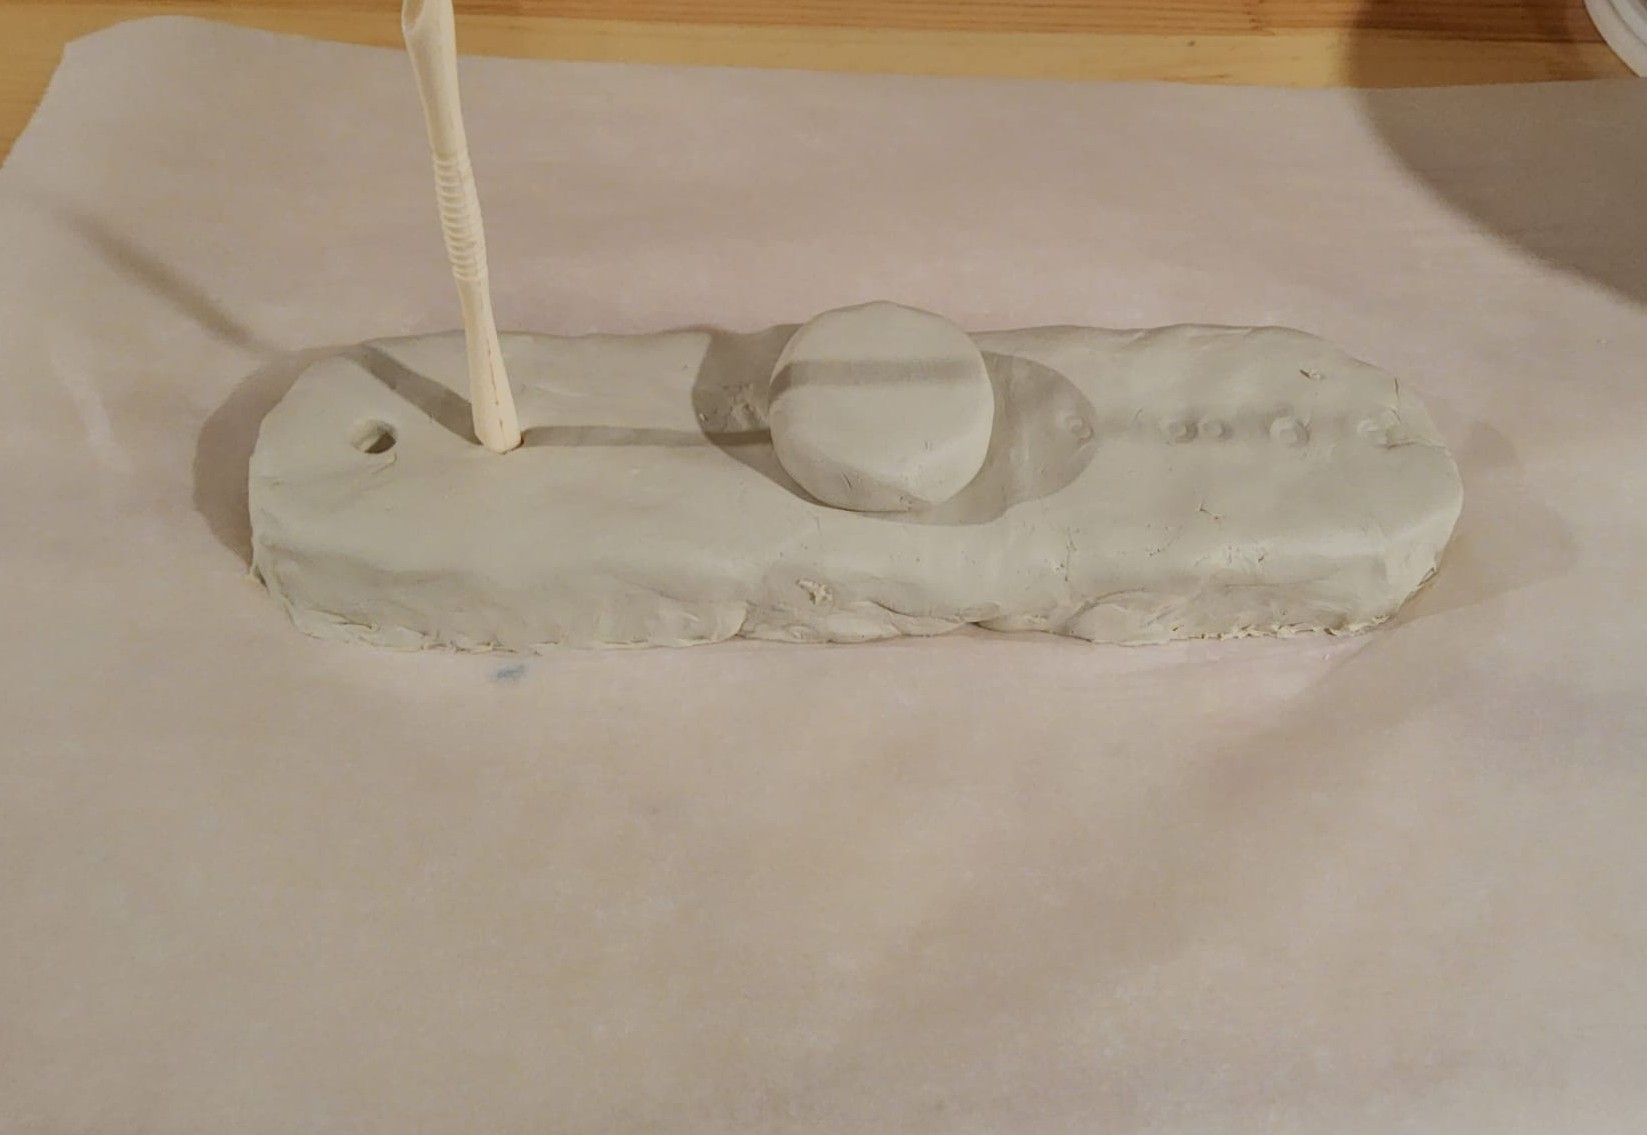
7. Press any embellishments into the clay
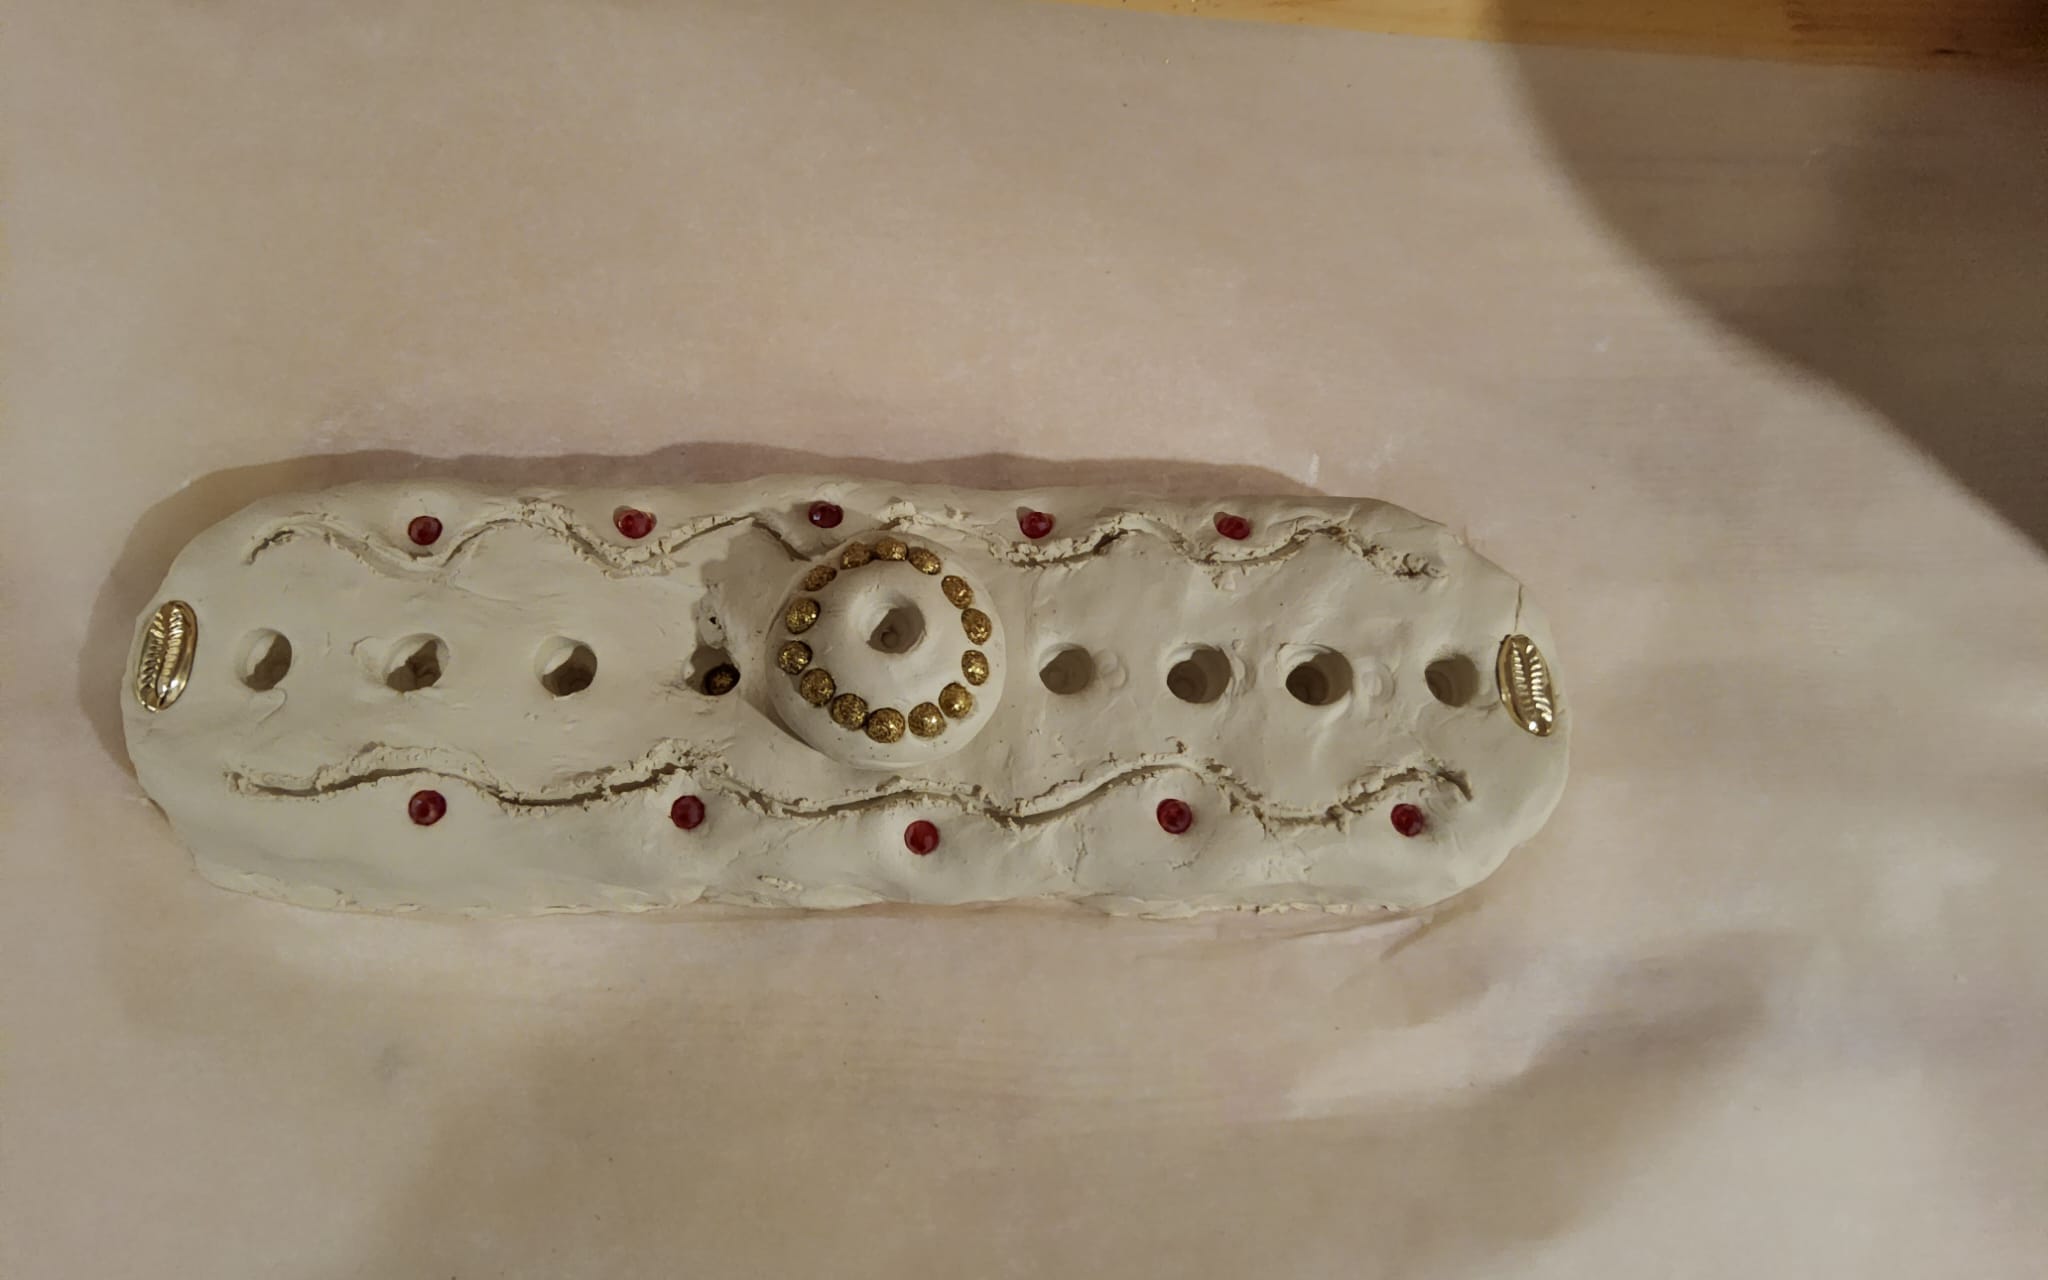
8. Let it dry for approximately 48 hours
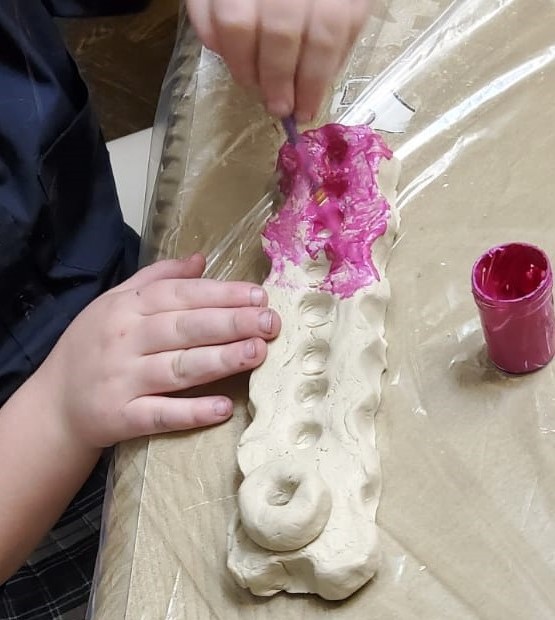
9. Paint as desired.
Get our best fun ideas straight to your inbox.


.png)

.png)
.png)
.png)
