Hanukkah/Resin Menorah Tray Hanukkah Craft Project
Craft No. 07

Resin Menorah Tray Hanukkah Craft Project

Add some glitz and glamour to Hanukkah candle lighting!

Marbled resin tray for a Hanukkah menorah
The It's Yom Tov boy
✦
The It's Yom Tov girl
✦
Let’s make one!
What you need

Eight supplies and a little sparkle.

What you need

Get everything in one go
One tap adds all 8 supplies to your Amazon cart.
Clear rectangular acrylic serving tray
Acrylic Tray
A clear 16 by 12 inch acrylic tray, the blank canvas that the marbled resin is poured over.
Bottles of clear epoxy resin and hardener
Resin & Hardener
A high-gloss clear epoxy kit with equal parts resin and hardener, mixed together to make the glassy coat.
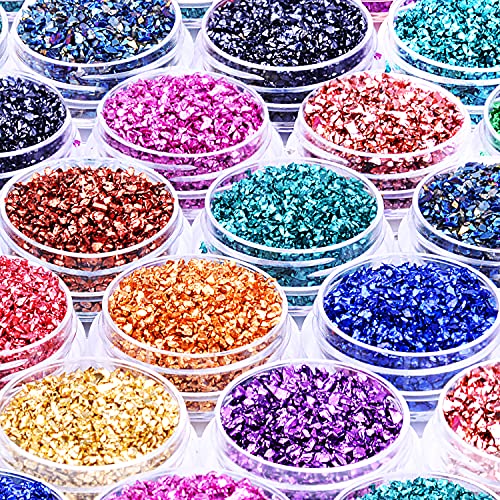
Boxes of fine crushed glass in metallic colors
Crushed Glass
Twelve small boxes of metallic crushed glass chips to stir into the resin for sparkle and texture.
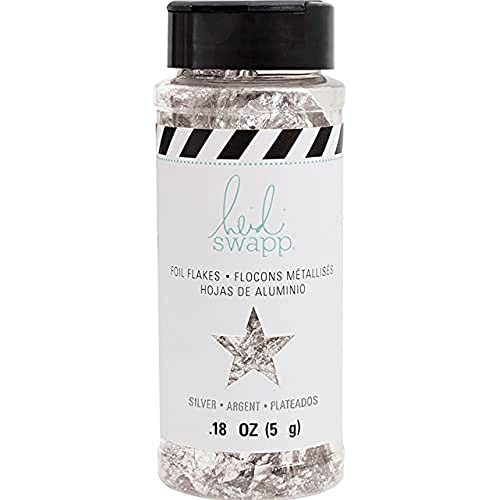
Jar of silver metallic flakes
Silver Flakes
Thin silver metallic flakes that drift through the resin and catch the Hanukkah candlelight.
Bottle of pearl metallic alcohol ink
Alcohol Ink
Metallic alcohol ink in pearl, a few drops at a time, to color each cup of resin.
Set of 45 colors of ultra fine holographic glitter
Ultra Fine Glitters
A 45-color set of ultra fine holographic glitter to stir into the resin cups.
Pile of natural wood craft sticks
Craft Sticks
Natural wood sticks, 200 in a pack, for stirring the resin and swirling the colors together.
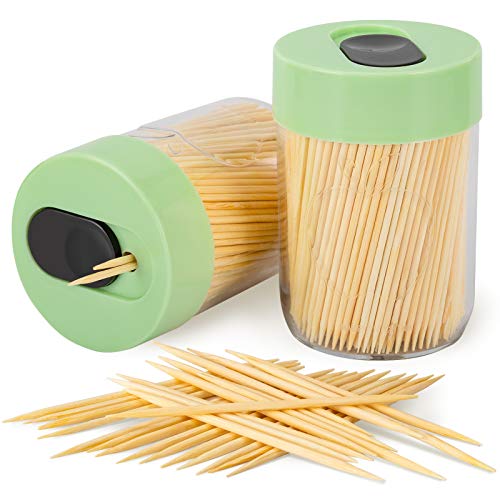
Holder filled with wooden toothpicks
Toothpicks
A holder with 800 natural toothpicks, the tool for popping any bubbles that rise in the resin.
Clear rectangular acrylic serving tray
Acrylic Tray
The tray to pour on
Bottles of clear epoxy resin and hardener
Resin & Hardener
Resin plus hardener
Boxes of fine crushed glass in metallic colors
Crushed Glass
Sparkle and texture
Jar of silver metallic flakes
Silver Flakes
A shimmer of silver
Bottle of pearl metallic alcohol ink
Alcohol Ink
A few drops of color
Set of 45 colors of ultra fine holographic glitter
Ultra Fine Glitters
45 colors of glitter
Pile of natural wood craft sticks
Craft Sticks
Stir and swirl
Holder filled with wooden toothpicks
Toothpicks
For popping bubbles
Instructions

Seven steps, one marbled tray.

Mix the resin first, color it in cups, pour it over the tray, then leave it alone to dry.
The It's Yom Tov boy waving
1
Pour two cups of resin and 2 cups of hardener into a disposable mixing container
2
In a well-ventilated room, slowly stir the mixture for 5 minutes in one direction only to prevent bubbles from forming
Grown-ups only
3
Divide the resin into two or three cups.
4
Add different color alcohol ink, glitter or beads to each cup, and mix until combined. Start with a few drops of ink and mix well, then add more until the color is just right.
5
Gently pour the resin over the tray.
6
Take a thin craft stick and carefully swirl the colors to create a marbleized effect. If you notice any bubbles, pop them with a toothpick. Otherwise, do not touch the resin.
7
Let the tray dry for 24 hours.

How to make it

1
Pour two cups of resin and 2 cups of hardener into a disposable mixing container
2
In a well-ventilated room, slowly stir the mixture for 5 minutes in one direction only to prevent bubbles from forming
Grown-ups only for this step!
3
Divide the resin into two or three cups.
4
Add different color alcohol ink, glitter or beads to each cup, and mix until combined. Start with a few drops of ink and mix well, then add more until the color is just right.
5
Gently pour the resin over the tray.
6
Take a thin craft stick and carefully swirl the colors to create a marbleized effect. If you notice any bubbles, pop them with a toothpick. Otherwise, do not touch the resin.
7
Let the tray dry for 24 hours.

Grown-up guide

The practical bits
Why mix the resin in a well-ventilated room?
Epoxy resin gives off fumes while it is mixed and while it cures, so the stirring is done with fresh air moving through the room. A grown-up handles the mixing and the pouring.
Ages
13‑17
Teens can do the coloring and the swirling; a grown-up should be on hand for the mixing and the ventilation.
Time
A day
About half an hour of mixing, coloring and swirling, then 24 hours of leaving the tray alone to dry.
Can we use it for the menorah?
Yes, that is what the tray is for. Let the resin dry for the full 24 hours before the menorah goes on it, and never leave burning candles unattended.
The It's Yom Tov boy
✦
Add some glitz and glamour to the candles, with a tray you made yourself.
More crafts→
The It's Yom Tov girl
✦
The It's Yom Tov boyThe It's Yom Tov girl
Add some glitz and glamour to the candles, with a tray you made yourself.
More crafts

This site contains affiliate links. If you click on and purchase through these links, we may receive a small commission at no extra cost to you.