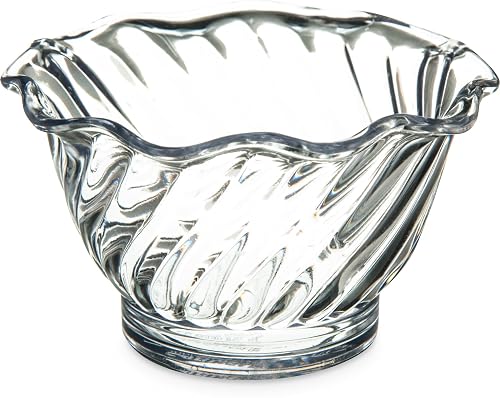
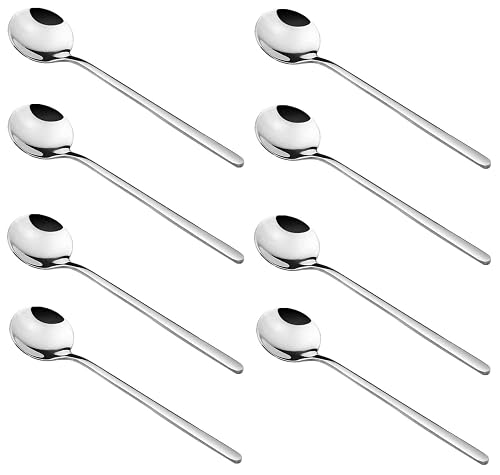
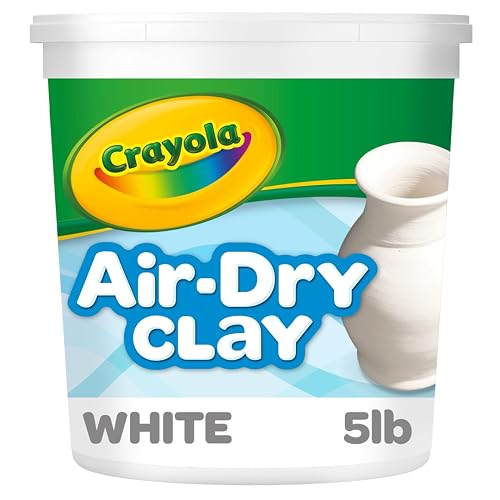
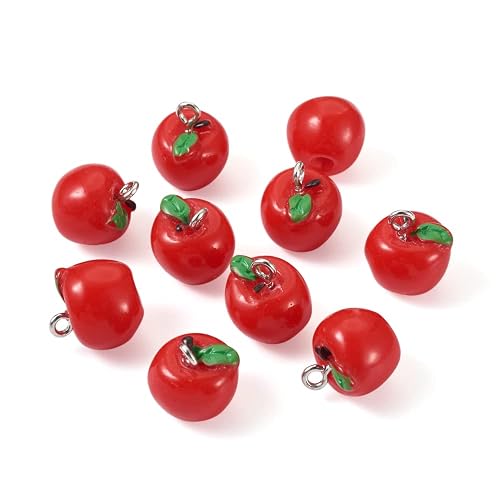
Air-Dry Clay Honey Dish

‍What you need:

Instructions:

This craft is appropriate for all ages - each child can get as sophisticated and creative as they desire. The one in the photo was created by a 6 year old.

1. Take a nice chunk of clay.
2. Press it firmly all around the sides of the serving dish
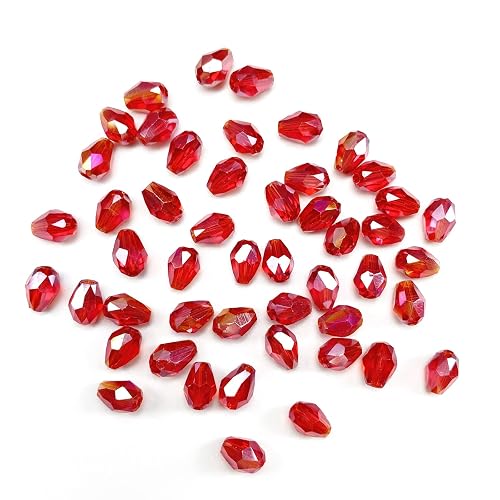
3. Gently push any desired beads deep into the clay
4. Roll a cylinder of clay as long as the spoon handle
5. Press the spoon handle into the clay and wrap the clay carefully around it
6. Gently push any desired beads onto the clay
7. Wait 24-48 hours for the clay to dry completely
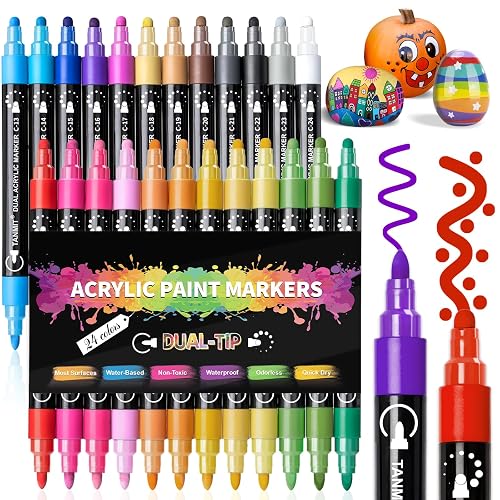
8. "Paint" the clay using the acrylic paint pens


Put your dish in the place of honor on your Rosh Hashanah table.

Air-dry clay honey dish questions

How long does air-dry clay take to dry?

Around 24 to 72 hours depending on thickness and how humid the room is. Thick bases take longest and crack if rushed, so keep the walls even and leave it somewhere with air moving rather than on a radiator, which dries the outside before the inside.

Is air-dry clay safe for honey to touch?

No — air-dry clay is porous and is not food safe, which is exactly why this project is built around a small plastic dessert dish. The clay forms the decorative outer dish and the honey stays in the insert. Do not skip that part.

What age can do this craft?

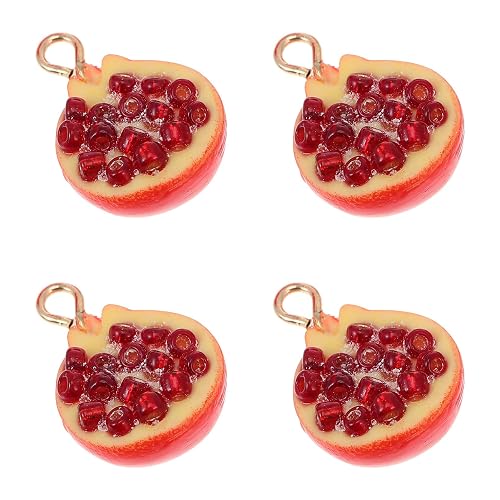
Rolling and shaping the clay suits about five and up. The beads, charms and paint markers are the part younger children enjoy most and can do with help. The one adult job is checking the walls are thick enough to survive drying.

How do you finish and care for it?

Paint once it is bone dry, then seal it — sealing is what stops the clay absorbing moisture. Wash the plastic insert rather than the clay dish, and keep the finished piece out of water entirely. On that basis it lasts for years.

This site contains affiliate links. If you click on and purchase through these links,
we may receive a small commission at no extra cost to you.