Sukkot/Craft Ideas/Sukkot Decoupage Craft
Sukkot  ·  Craft No. 01

Sukkot Decoupage Craft

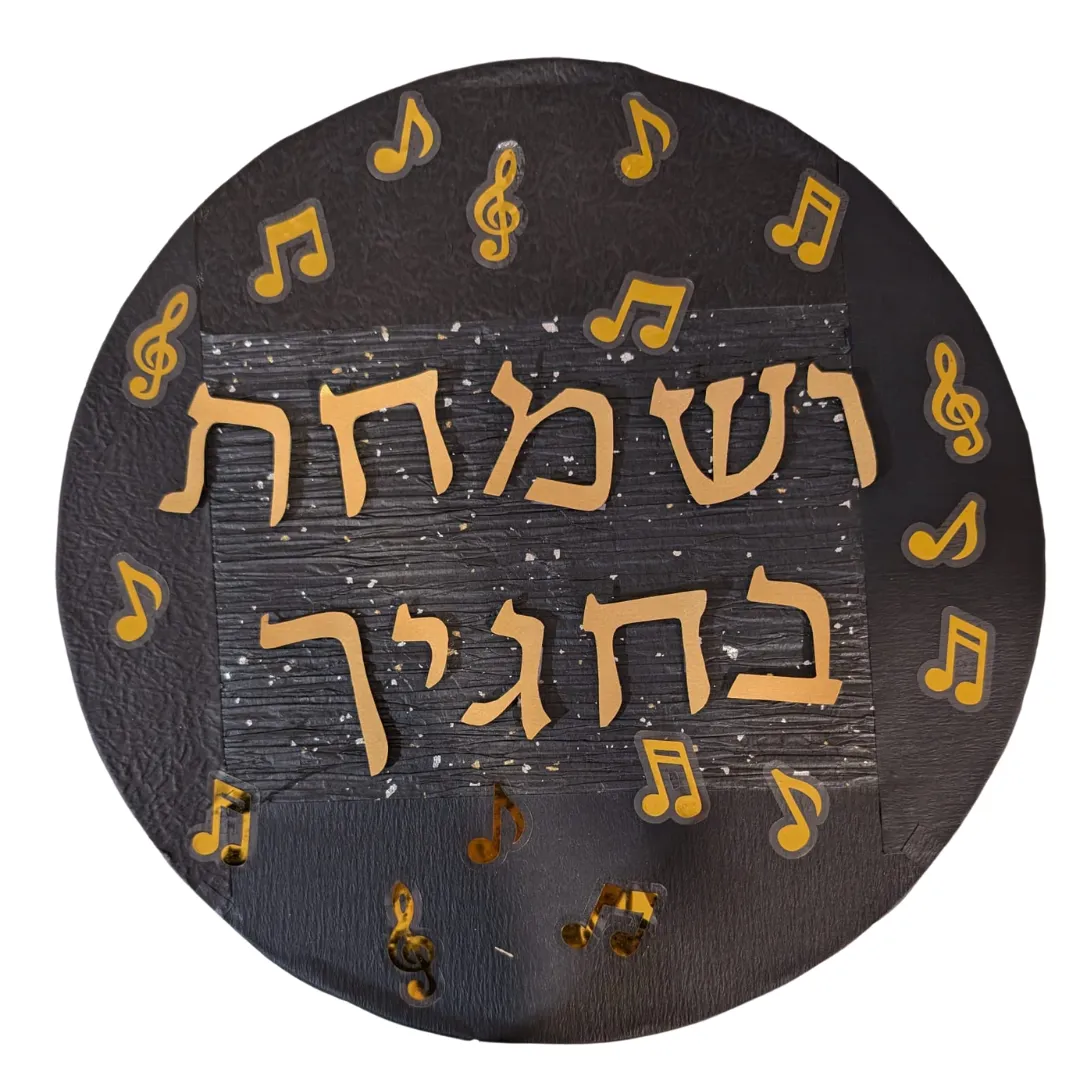
This round "Visamachta Bichagecha" sign is a sophisticated addition to your sukkah walls. It's easily created using a round basal wood base, textured decoupage paper and musical notes stickers.

An afternoonAges 8+Needs drying time
Round black-and-gold decoupage wall hanging with V'samachta B'chagecha in gold Hebrew letters and musical notes
The It's Yom Tov boy
The It's Yom Tov girl
Let’s make one!
What you need

Four things, and a steady hand.

What you need

Get everything in one go
One tap adds all 4 supplies to your Amazon cart.
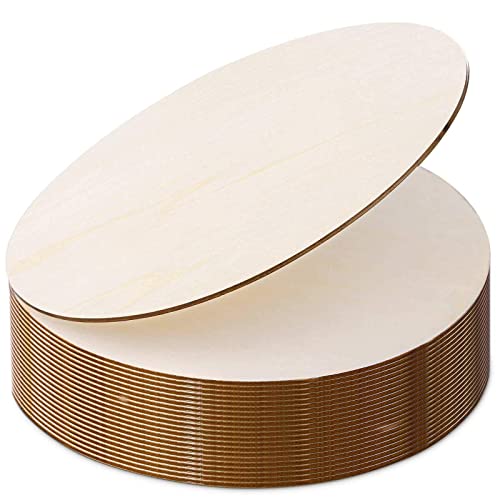
Round basal wood
Round basal wood
20 unfinished wood discs, 12 inches round — the base for the sign.
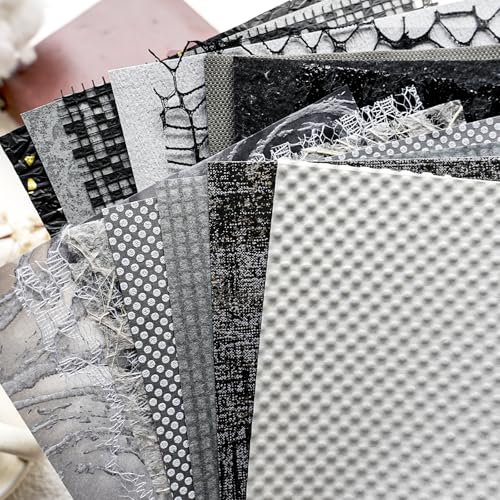
Textured decoupage paper
15 sheets of handmade textured craft paper, for the background layers and the mesh top layer.
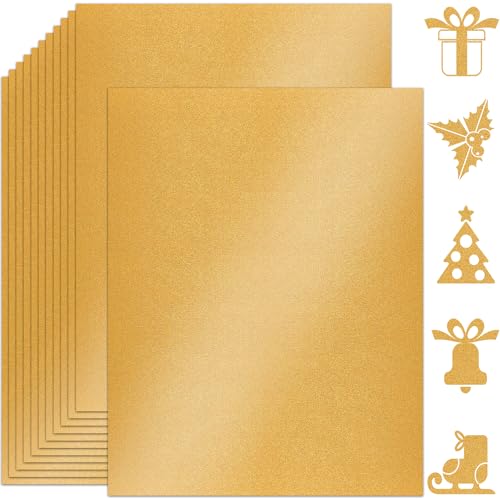
Gold cardstock paper
25 sheets of gold shimmer cardstock, cut into the Hebrew letters.
Musical notes stickers
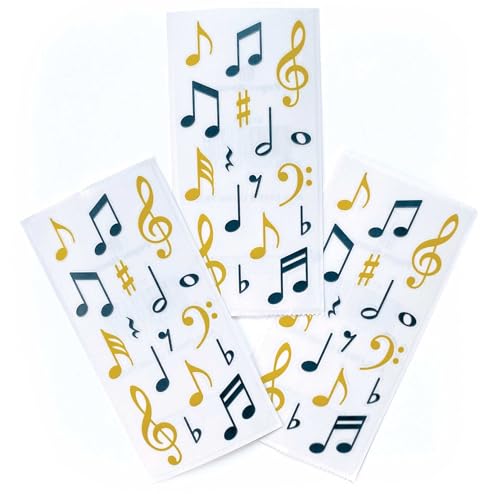
Gold musical note and treble clef stickers scattered around the circle.
Round basal wood
Round basal wood
The round base
Textured decoupage paper
Black textured sheets
Gold cardstock paper
For the letters
Musical notes stickers
Gold note stickers
Instructions

Seven steps to a sukkah sign.

Work from the background forwards — paper first, letters next, and the mesh layer last so nothing shifts once it is sealed.
The It's Yom Tov boy waving
1
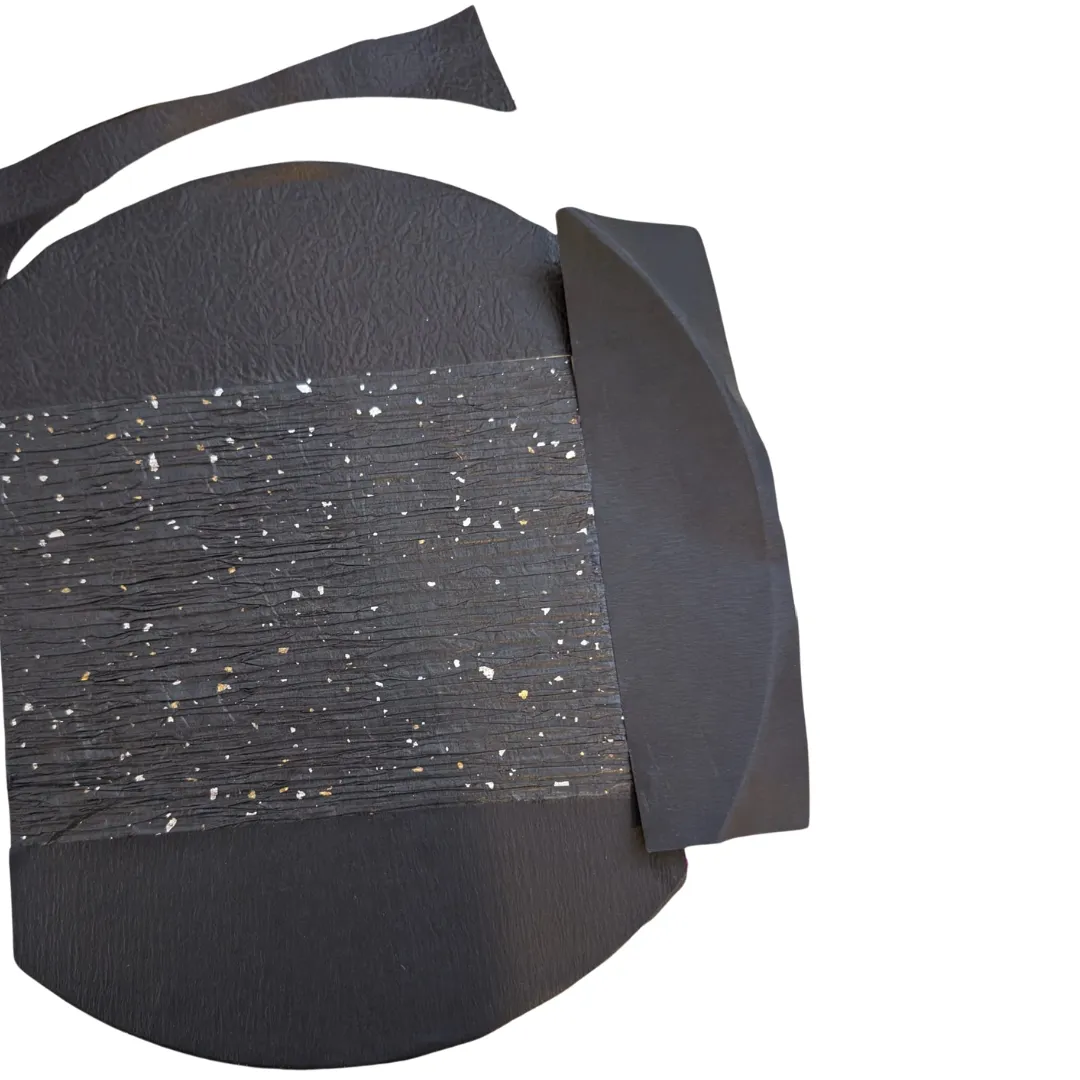
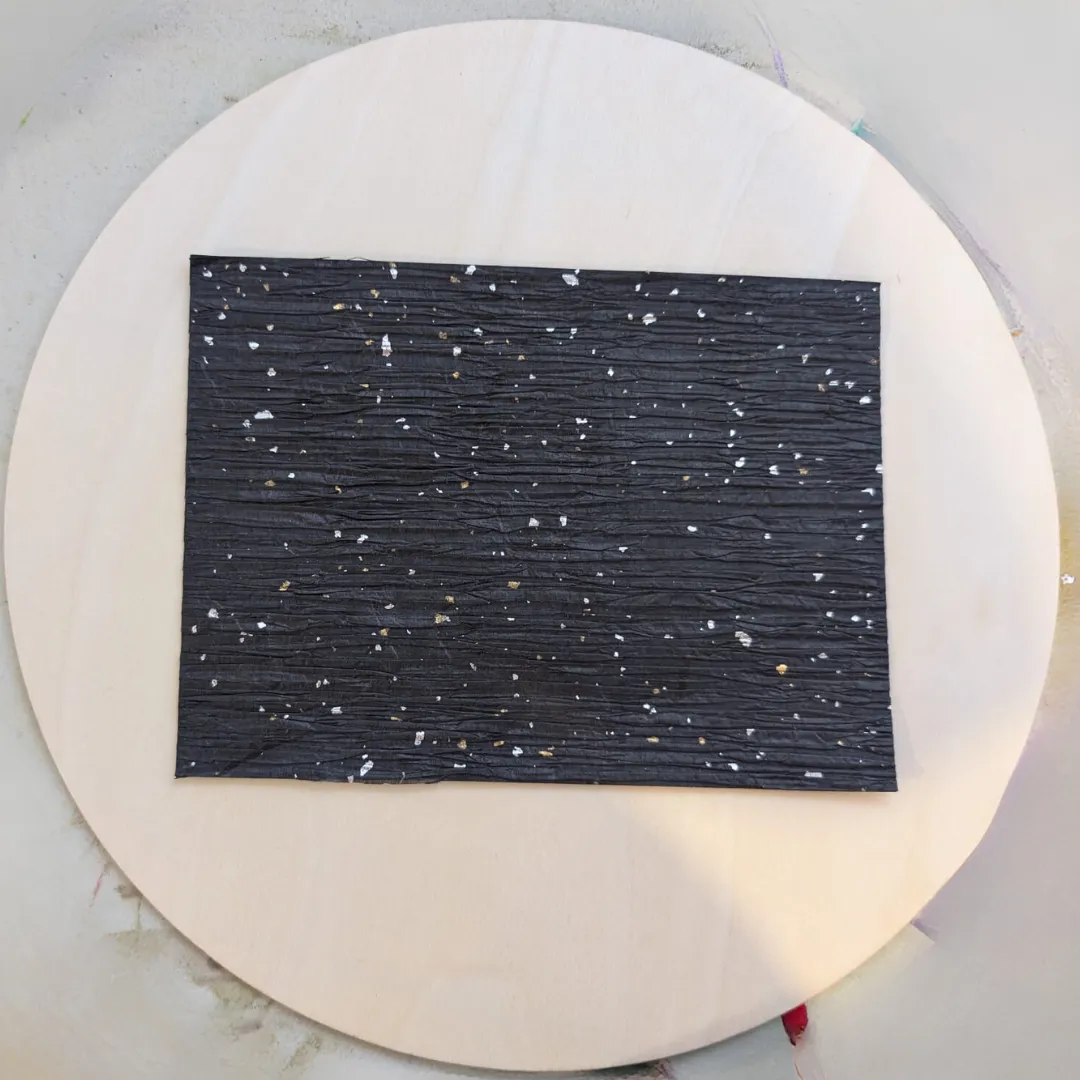
A black speckled rectangle of decoupage paper glued to the centre of a round wooden disc
Glue one speckled rectangle of decoupage paper to the center of a basal wood circle
2
Torn black textured papers covering the rest of the wooden circle
Use plain black paper of different textures to cover the rest of the circle of wood.
3
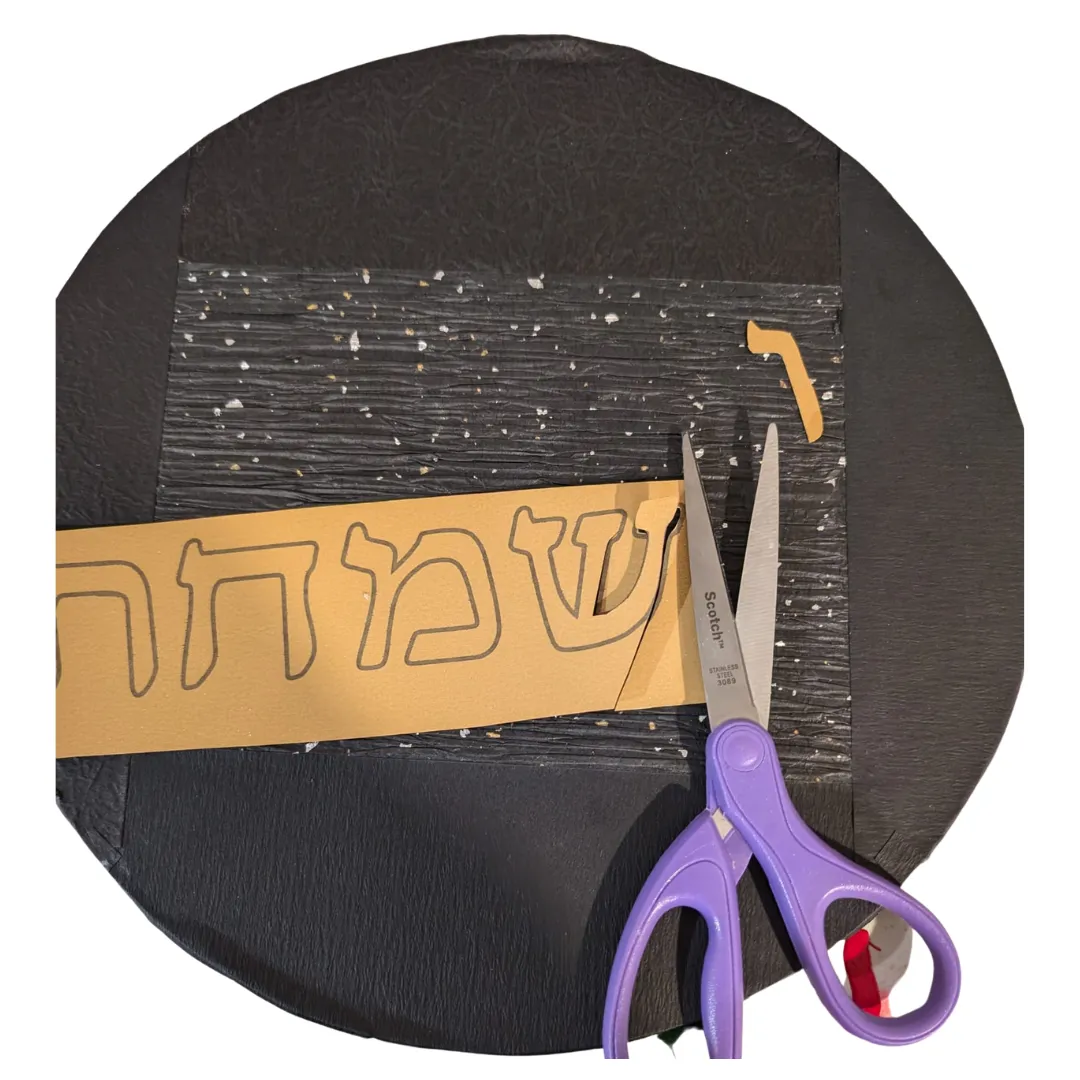
The Hebrew phrase cut from gold paper with scissors on the black circle
Print or draw the phrase ושמחת בחגיך on gold paper. Cut the letters out.
4
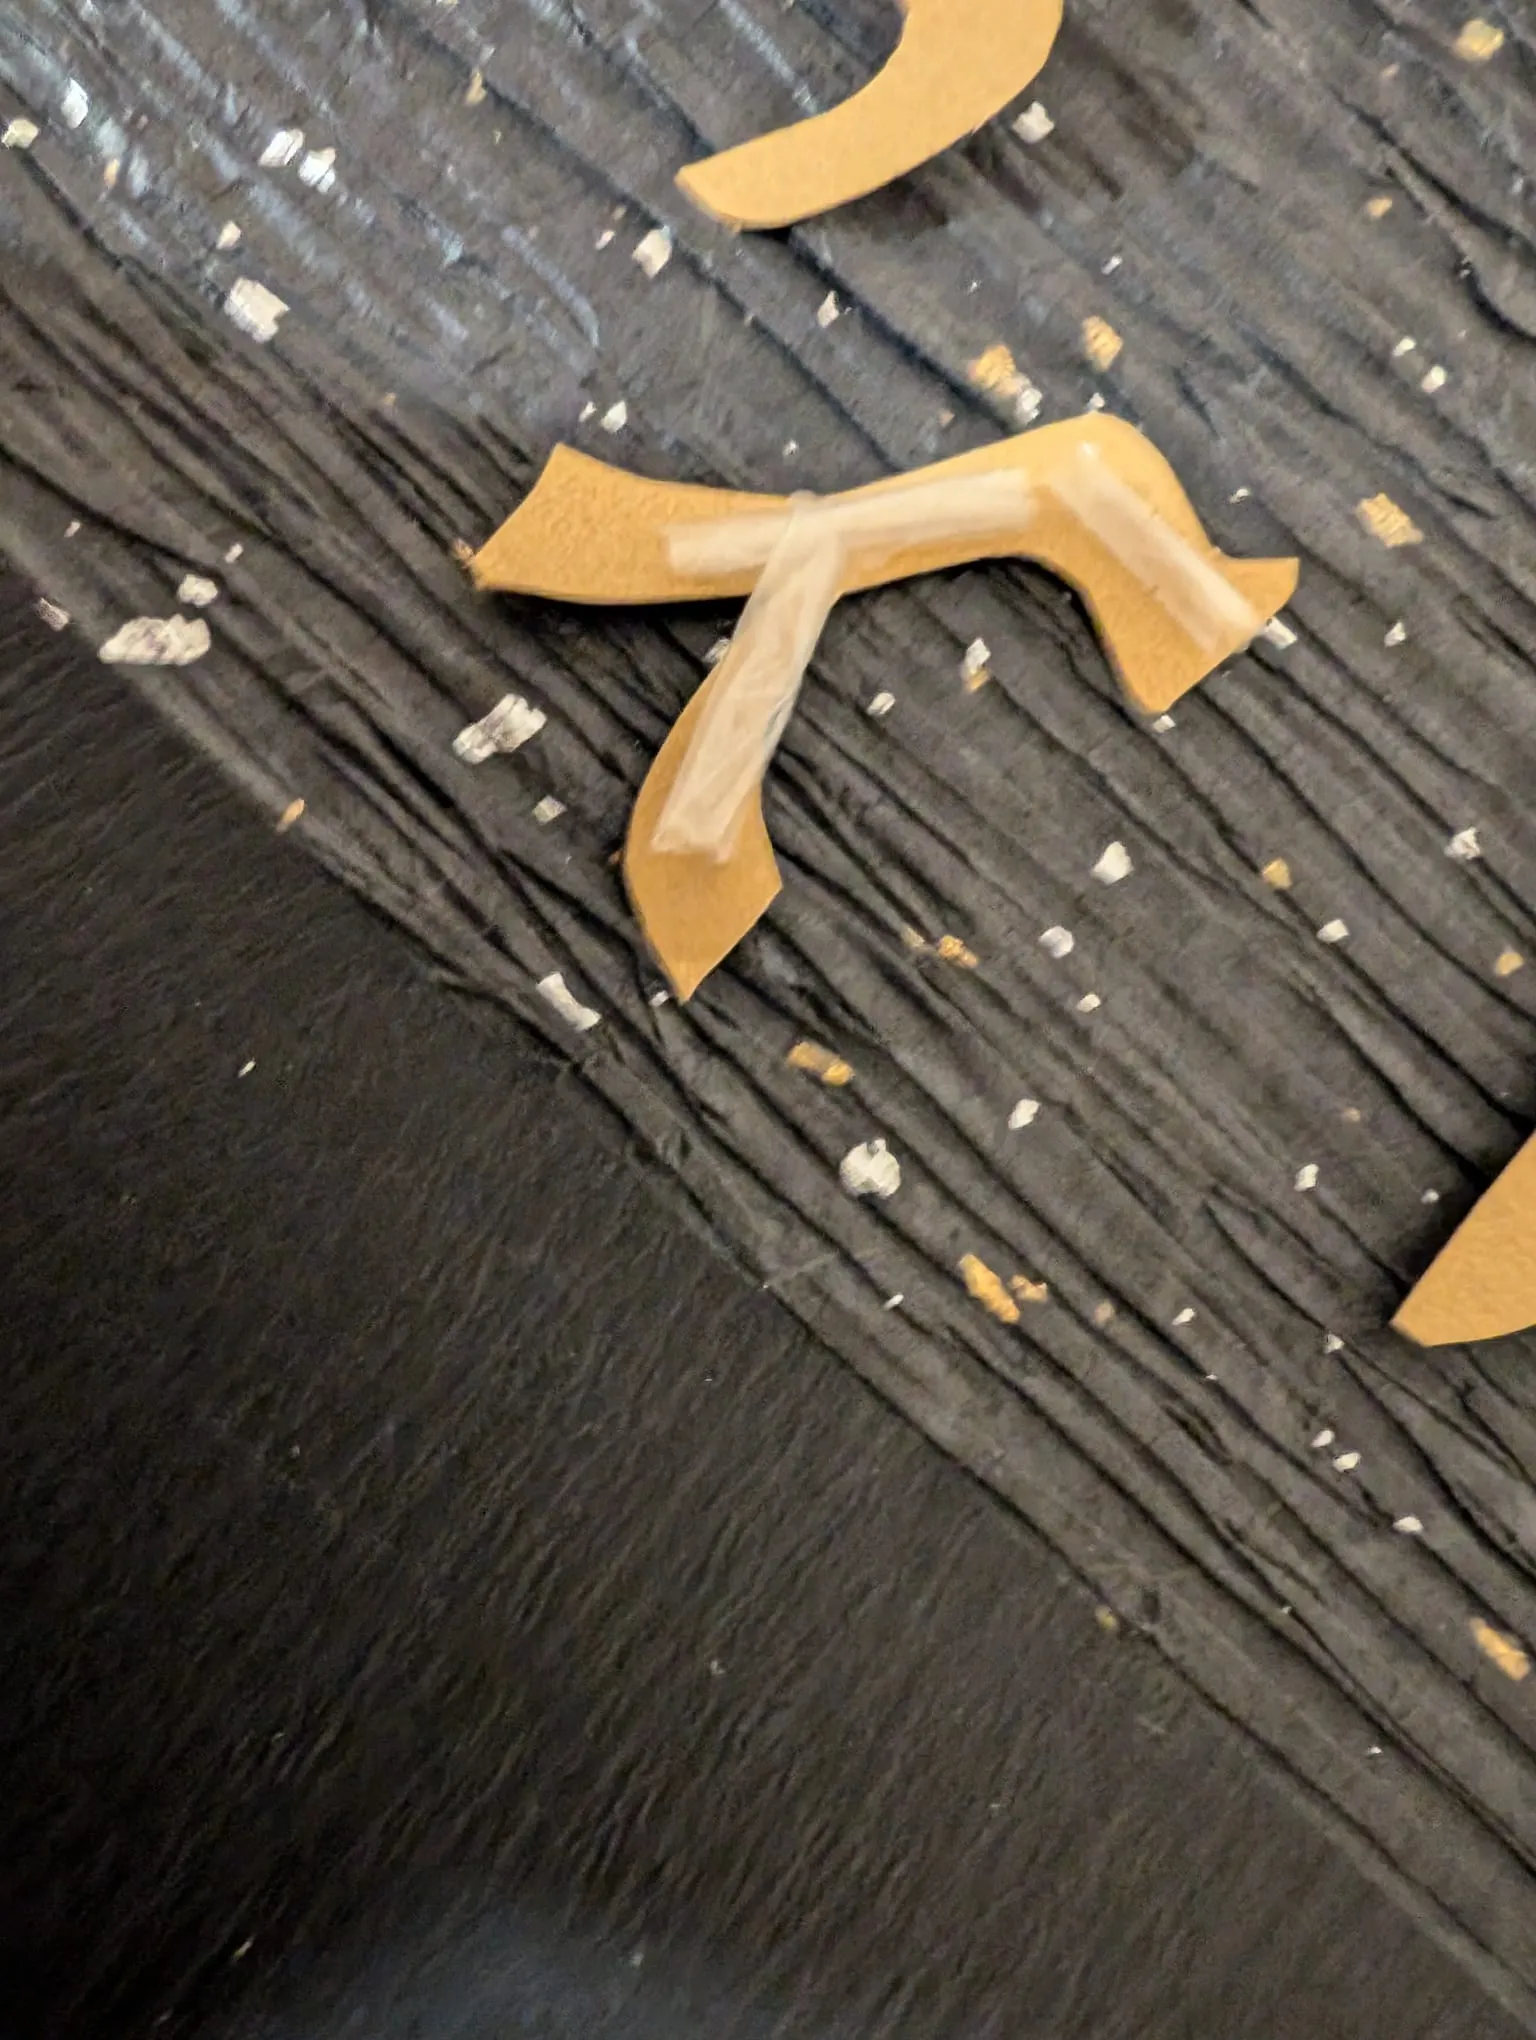
Gold Hebrew letters being pressed onto the black circle
Roll a few tiny pieces of tape and press onto the back of each letter. Then press the letters onto the center of the board. Position the letters so they look like they're "dancing".
5
Gold musical note stickers scattered around the lettered circle
Scatter musical notes stickers around the circle.
6
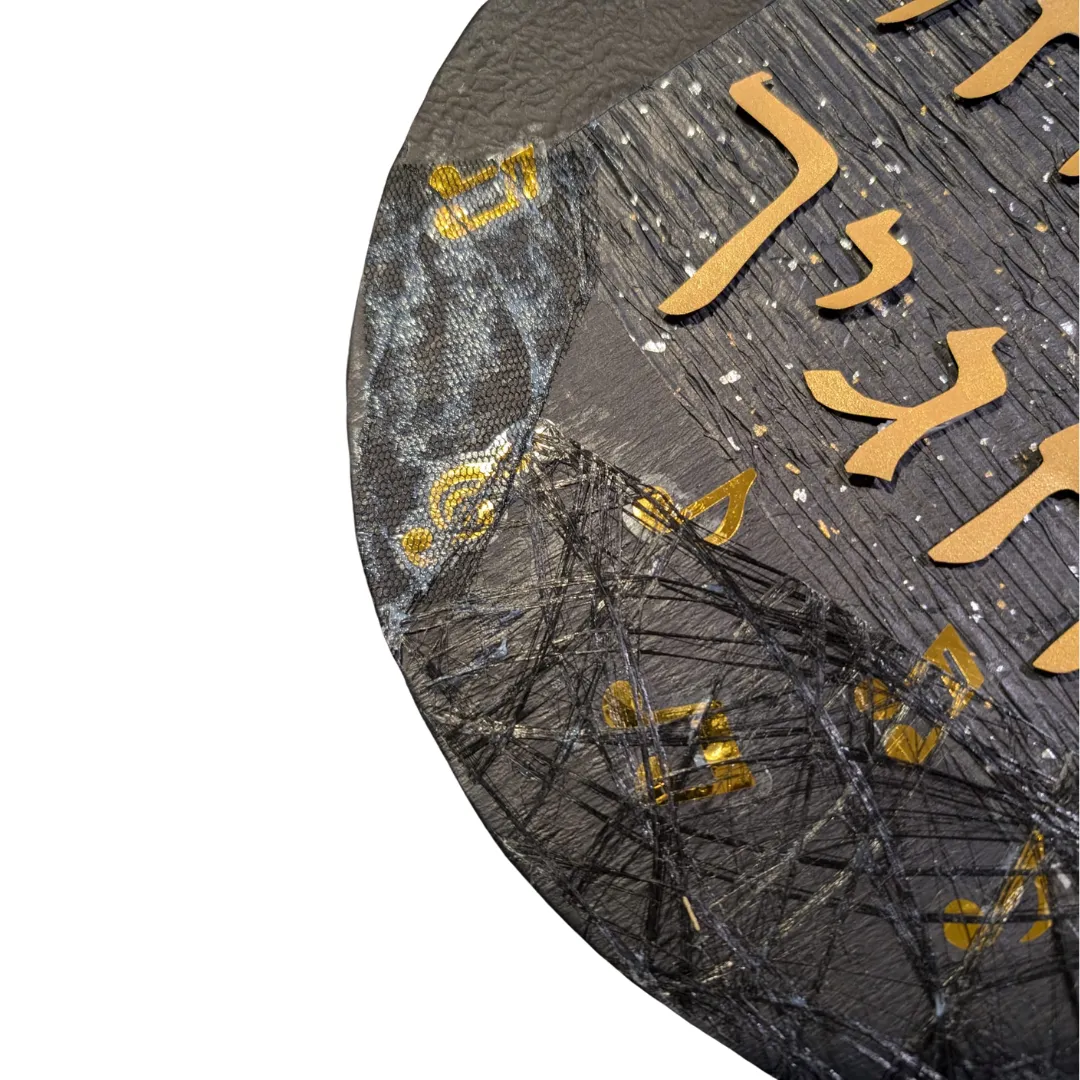
Mesh decoupage paper brushed with Mod Podge over the finished surface
Cut several mesh-like decoupage papers into smaller pieces and alternately position them so the entire craft other than the letters is covered with mesh. Carefully brush Mod Podge or glue over the mesh papers. Leave to dry.
7
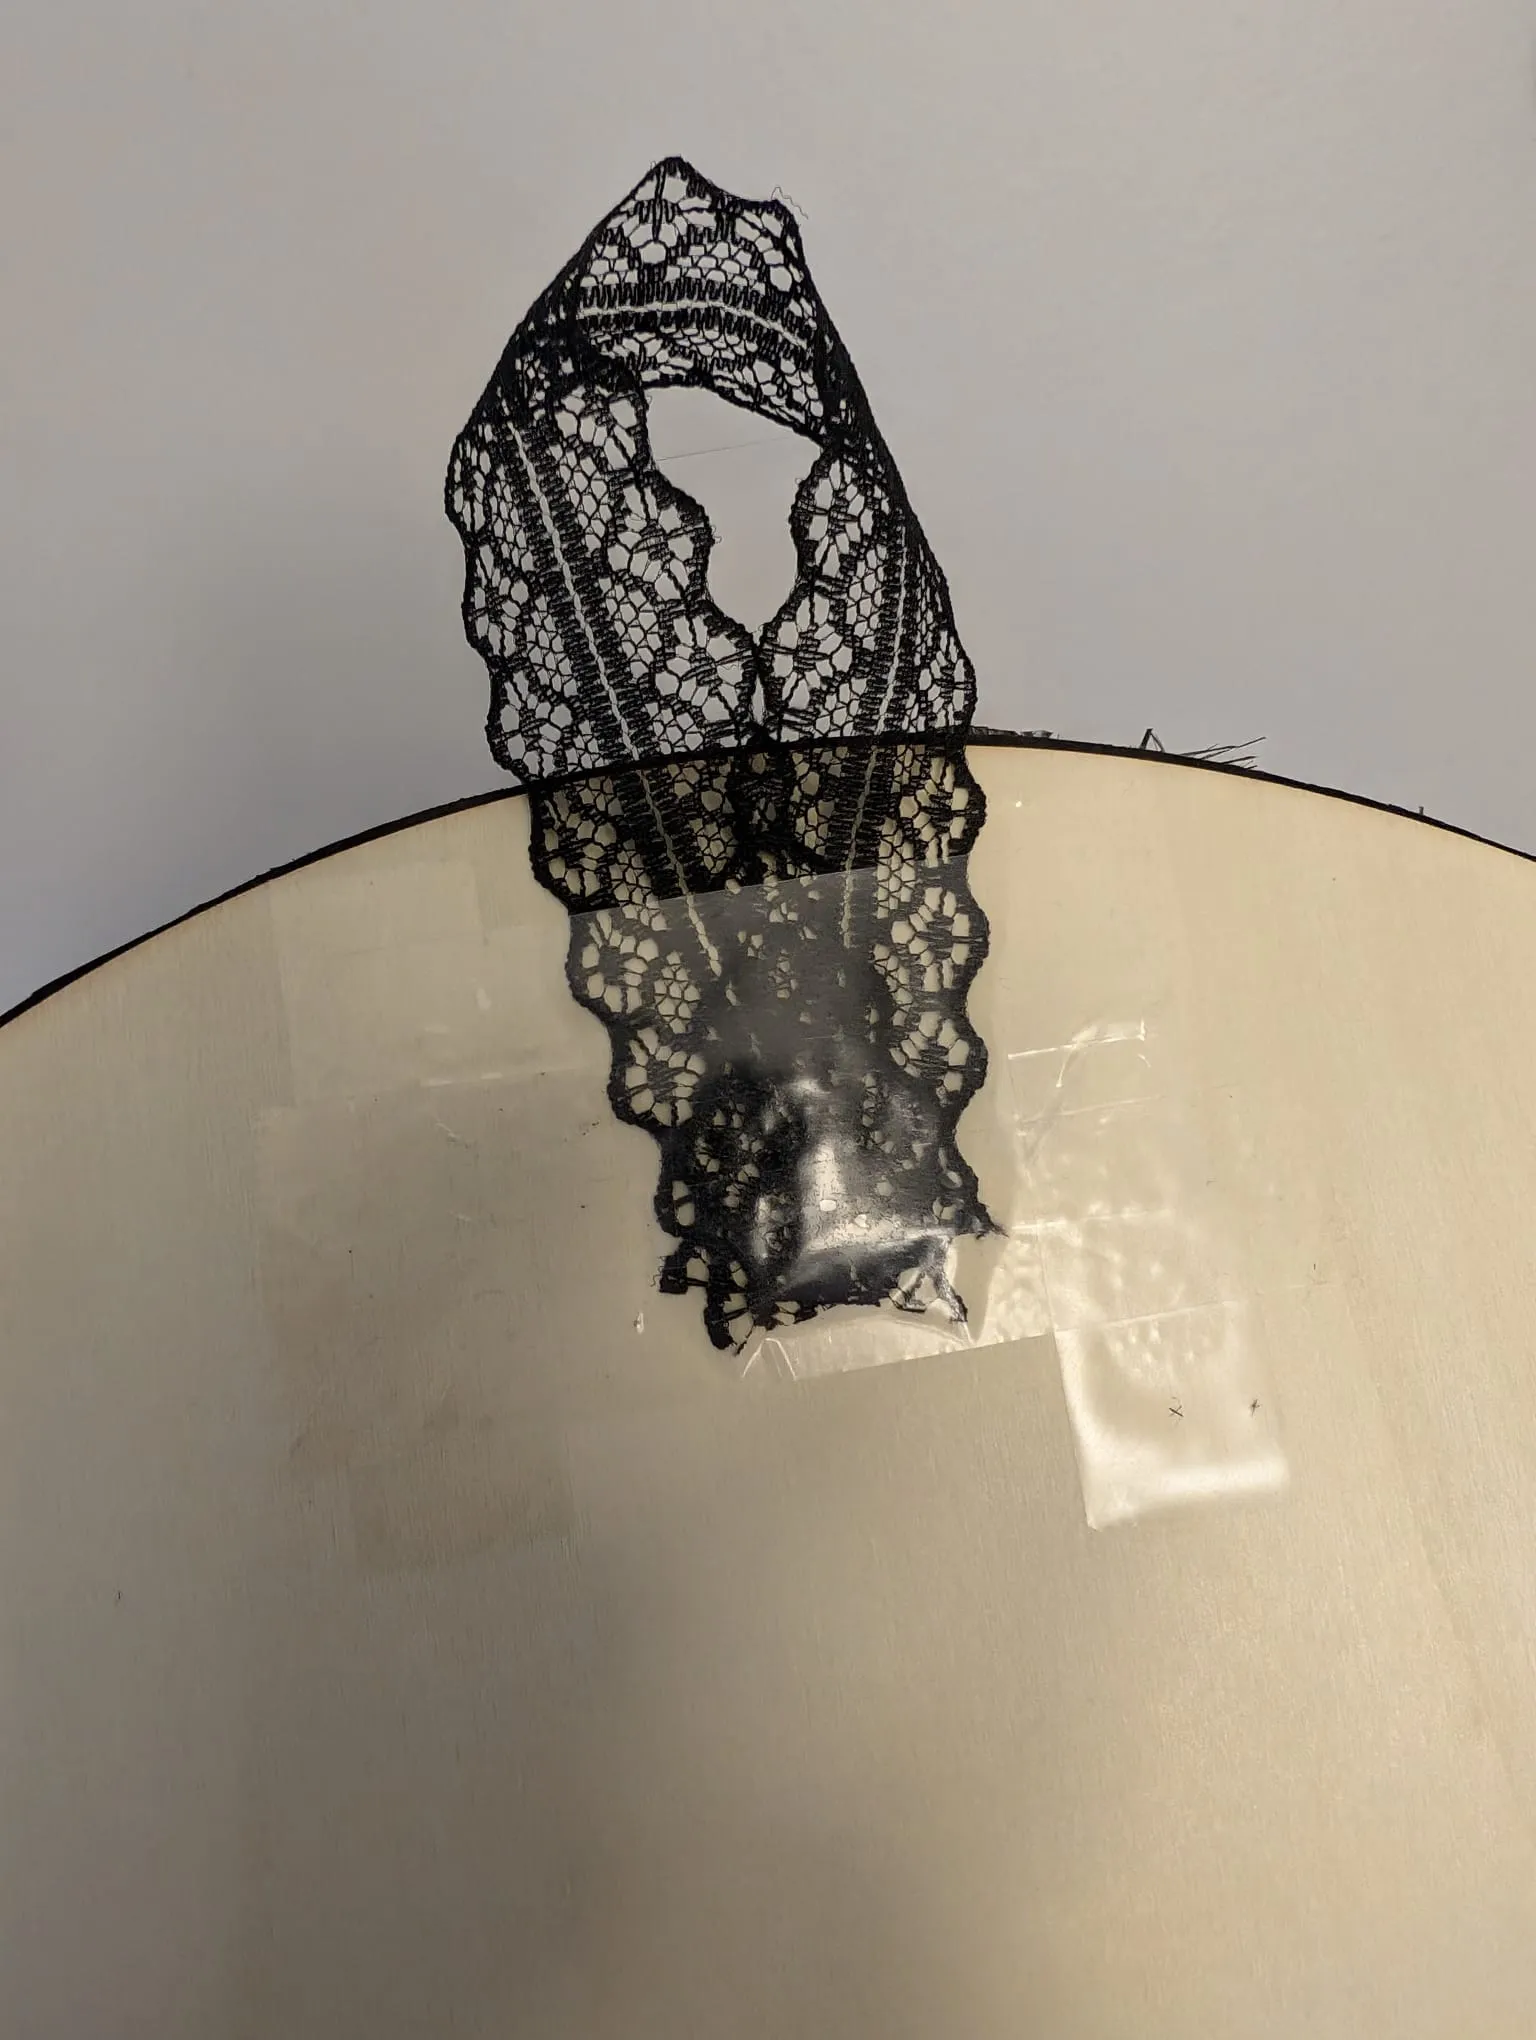
A loop of black ribbon taped to the back of the wooden disc
Glue or tape a piece of black ribbon in a loop to the back of the wood.

How to make it

1
A black speckled rectangle of decoupage paper glued to the centre of a round wooden disc
Glue one speckled rectangle of decoupage paper to the center of a basal wood circle
2
Torn black textured papers covering the rest of the wooden circle
Use plain black paper of different textures to cover the rest of the circle of wood.
3
The Hebrew phrase cut from gold paper with scissors on the black circle
Print or draw the phrase ושמחת בחגיך on gold paper. Cut the letters out.
4
Gold Hebrew letters being pressed onto the black circle
Roll a few tiny pieces of tape and press onto the back of each letter. Then press the letters onto the center of the board. Position the letters so they look like they're "dancing".
5
Gold musical note stickers scattered around the lettered circle
Scatter musical notes stickers around the circle.
6
Mesh decoupage paper brushed with Mod Podge over the finished surface
Cut several mesh-like decoupage papers into smaller pieces and alternately position them so the entire craft other than the letters is covered with mesh. Carefully brush Mod Podge or glue over the mesh papers. Leave to dry.
7
A loop of black ribbon taped to the back of the wooden disc
Glue or tape a piece of black ribbon in a loop to the back of the wood.

Grown-up guide

The practical bits
What does V'samachta B'chagecha mean?
"And you shall rejoice in your festival" — the words from the Torah that give Sukkos its tone. Hung on a sukkah wall they read as both an instruction and a wish.
Ages
8+
Cutting the letters and laying the mesh need a steady hand; younger children can scatter the musical notes.
Time
An afternoon
The making is quick. The Mod Podge layer needs to dry fully before it hangs, so start it a day ahead.
Can children make this craft?
The gluing and the musical notes suit any age. Cutting the Hebrew letters from gold cardstock is the fiddly part and is better done by an adult or an older child, then handed over for positioning.
How long does it take?
The making is an afternoon. The Mod Podge layer over the mesh papers needs to dry fully before the sign is hung, so start it a day before you want it up.
Will it survive a week in the sukkah?
The Mod Podge seal is what protects it. Hang it on a sheltered wall rather than an open side, bring it in if heavy rain is forecast, and it stores flat for next year.
The It's Yom Tov boy
Hang up your masterpiece and enjoy!
More crafts
The It's Yom Tov girl
The It's Yom Tov boyThe It's Yom Tov girl
Hang up your masterpiece and enjoy!
More crafts

This site contains affiliate links. If you click on and purchase through these links, we may receive a small commission at no extra cost to you.

This site contains affiliate links. If you click on and purchase through these links,
we may receive a small commission at no extra cost to you.